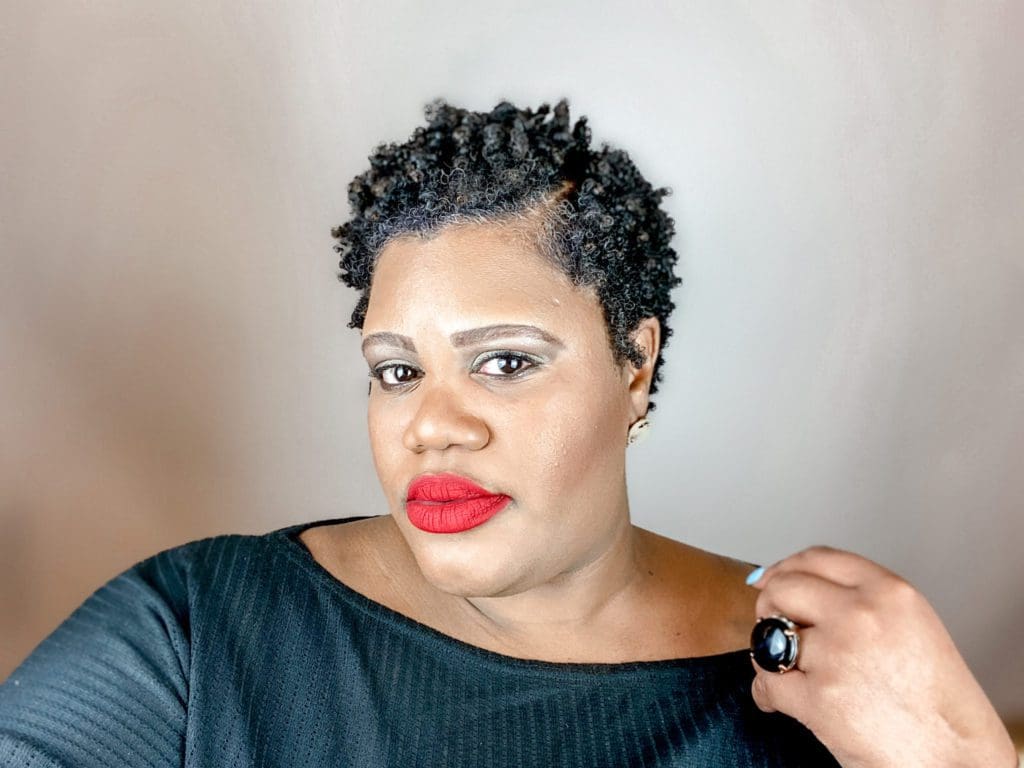
Finger coils was a style that I loved when my natural hair was in a twa (teeny-weeny-afro). Not only was this my go-to style, I always received countless compliments when I wore my hair this way. If you’ve ever wanted to master a finger coil style then this blog is for you. Before you attempt any style be sure that your hair is freshly shampooed and conditioned. You do not want to create a new style on old dirty hair.
Sis, Your Finger Coils Needs Water
The key ingredient to a successful finger coil is water. Say it with me wa-ter. Before putting products in your hair, make sure that your hair is properly hydrated. Water is your best friend when creating this style. You want to make sure that your hair is drenching wet in order to create a perfect finger coil style.
This blog post contains affiliate links. See my disclosure on affiliate links here.

After your hair is saturated with water, you then want to follow up with a gel or jelly. Now, the reason why I like using a jelly for my finger coils is because it doesn’t leave my hair feeling crunchy like most gels I have used before. If you’re not into having crunchy hair and want your style to have hold and shine then you should check out Aunt Jackie’s Ice Curls Glossy Curly Jelly. This product has been one of my favorites and it is A-MA-ZING!

There are two techniques ( that I am aware of) one is using a small tooth comb, and the other is using your fingers. I like using my fingers. This method works better, in my opinion, since it doesn’t leave spaces in your hair like a comb.
How to Create the Perfect Finger Coil Style
Section your hair in four sections and work with each section at a time. Take one section and separate that section into a smaller section. Spray your hair with water if needed. Take your jelly ( as much as you think you will need for that section) and rake the product in your hair, and use a denman brush or small tooth comb to distribute the product evenly.
Once you have done that, you will then need to decide how big or small you would like your finger coils; slowly twirl the hair around your finger working your way in a downward motion until you are at the end of that strand. You will continue this for the remaining of your section and all of your hair. Once you’re done with each section, take a hair pick to lift the roots to create a fuller look. Let your hair air dry and that’s it! This style should last you for about a full 5-7 days. Add water as needed throughout the week to refresh the style.

Want to see step by step? Check out my video on Instagram on how I achieved my finger coils using the Aunt Jackie’s Ice Curls Glossy Curly Jelly.
2
